
We’re excited you’re creating your first Folio Album. Whether you’re designing a wedding album, a newborn family album or another type of keepsake, our tools are here to help make the process as simple as possible. This guide walks you through how to get started using the Folio Albums Designer, using our Free Album Design Service, as well as how to submit files if you’re working in third-party software like Fundy, SmartAlbums, or Album Stomp.
Option 1: Use the Folio Albums Designer or Requesting a Free Album Design
Our online designer is the easiest way to create and submit your album. It’s built specifically for our products and is fully integrated into the ordering process. If you would like to request a Free Album Design, read our Help Document Free Album Design Service before proceeding.
Getting Started
We have a full set of step-by-step help documents dedicated to using the Folio Albums Designer, but in summary, the steps are as follows:
Step 1: Create a new project
Start by creating a new project in the Folio Albums Designer. If you’re new to the Designer, follow our guide: Creating a new album design project.
Step 2: Select photos to upload
Next, you’ll start by uploading your image files which will be uploaded as thumbnails. This process is designed to keep the initial upload fast, allowing you to begin designing your album without waiting for large image files to upload. For details refer to our guide: Uploading images to your album project.
Note: Once your design is complete, the high-resolution versions of only the images used in the final design will need to be uploaded (Step 6). This process ensures that you’re not uploading unnecessary data, keeping things streamlined and efficient.
Note: At this stage, after you have completed Step 2 and you would like to request a Free Design, this is the step where you place your request. Our Help Document here, can help guide you through the process, however we recommend that you have already ready the document before reaching this stage as it contains important information on how to name your files correctly to help us create the perfect design for your clients.
Step 3: Create your design
The Designer includes helpful tools and guides to make sure your layouts print perfectly. We recommend taking your time to familiarise yourself with the interface, using our Getting Started Guide To The Folio Albums Designer and keeping the following in mind:
- Paying close attention to the red trim line. Anything too close to the edge risks being trimmed off. Leave generous breathing room around key subjects, text, or faces.
- Watching for upload warnings. If the Designer shows a warning or other alert, it’s worth addressing. Small issues here could lead to disappointment in print.
- Checking image resolution. Blurry or pixelated prints are nearly always caused by low-res files. If you’re unsure, you can always ask us to check before exporting your design.
Step 4: Send to client for approval
Once your design is created, you’ll move onto the proofing stage. Clients or collaborators will be able to review and comment directly on individual spreads.
Follow our step-by-step guides, 1. Web proofing with the Folio Designer and 2. Client experience: viewing, commenting and approving for more information.
Step 5: Order your Folio Album in the Shop
Once your design has been approved by your client, order your Folio Album through the Shop and make a note of the FO order number you receive — you’ll need this for the final export in Step 6.
Note: Before placing your order, ensure all details such as the cover material and personalisation options are confirmed with your client.
Step 6: Export your design
Now you’ve ordered your Folio Album, you’ll upload your high resolution image files and export your design. We have a detailed guide available to walk you through this stage, Exporting your design.
As you work through the export process, please keep the following in mind:
- Watching for export warnings. If the Designer shows a low-resolution warning or other alert, it’s worth addressing. Small issues here could lead to disappointment in print.
- Checking image resolution. Blurry or pixelated prints are nearly always caused by low-res files. If you’re unsure, you can always ask us to check before exporting your design.
We have a full set of step-by-step help documents dedicated to using the Designer. You’ll find tips on adding spreads, replacing images, and more in our Designer Help Section.
Option 2: Submit Print-Ready Files from 3rd Party Software
If you’re already comfortable designing in software such as Fundy, SmartAlbums, or Album Stomp, you’re welcome to submit print-ready spreads.
Here are a few important reminders:
- Do not order your album until you have received client approval for your design.
- Submit individual spreads (not pages).
- Export at the correct print size and resolution following our Album Spread and Page Size Specifications.
- Be mindful of bleed and trim. Avoid placing important elements near the edges.
If you’re ever unsure, just drop us a line, we’re happy to check your files when you place your order.
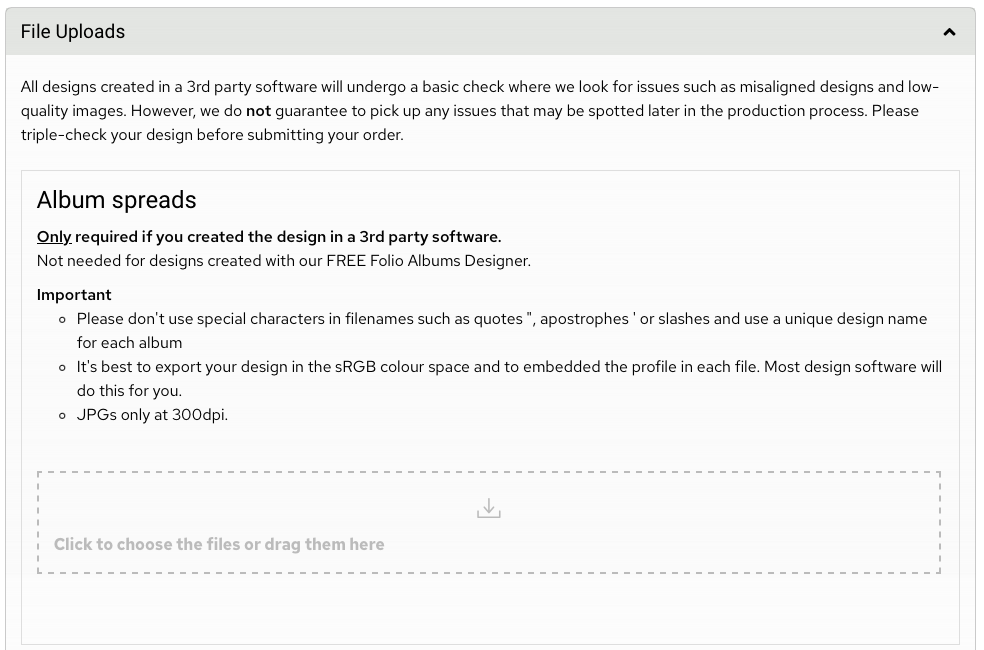
When you are ready to place your order in the Shop, once you have configured your album, you’ll see a File Uploads box at the bottom of the product order form. This is where you upload your album spreads.
A Few More Tips for a Perfect First Album
- Preview carefully. Take a final walkthrough of your design before submitting. Check for spelling mistakes, duplicate images, or layout inconsistencies.
- Keep things consistent. Use a consistent editing style, image orientation, and margin spacing throughout the album.
- Plan for variety. A mix of full-bleed images and white space can make your album feel elegant and well-paced.
- Avoiding overly dark images or dark spreads. Deep blacks across a full spread can appear heavy in print and distract from your story. For best results, design with a clean white background and allow images to breathe.
Need Help?
If you get stuck or have a question, our team is always here to help. Just send us a message, and we’ll get back to you as soon as we can.


